If you are short on time: I love it and I highly recommend it to every runner - trail and road.
*****************

HPL #008 Data
- 2-way Propulsion Harness
- 1.5 liter Hydration Bladder with a Slideseal™ top closure and bite valve*
- Power Stretch Mesh back pocket for jacket or gloves
- Dual front Power Stretch Mesh pockets –– one with zipper closure
- Vertically adjustable sternum strap with tube clip
- Lightweight, breathable Wall Mesh with soft perimeter binding
- Weight: 11.2 oz.
- Adjustable fit - one size fits all
Other versions out there: Endurance (2l bladder), HPL #202 (2l bladder) and the women's specific Intensity (2l bladder).
Honestly, I am not quite sure anymore, how I ended up buying the race vest. I believe it was after a very painful run with one of my Camelbaks (I do own two: A smaller one that basically just fits a bladder and a bigger one that fits a bigger bladder and has some storage) that left me sore and chafed in all the wrong places while the bouncing around during in the run was also just annoying. I understand that there are tons of people out there, that love running with their Camelbaks, but after that one run I was ready for something else and never looked back.
When I am running with the race vest, I am not worried were to put all my crap and that's key for me especially on longer runs when I do carry food, a phone, my keys and maybe even a camera.
There is one pocket on each of the (wide) straps of the vest.

The first one is a mesh zipper pocket, where I usual put my key, iPhone and the camera.

The second one is a mesh zip tie type pocket, where I usual stuff my food into.

On the back, there is also an open compartment, where you can stuff in a rain jacket or a long sleeve shirt.
Plenty of storage and no need anymore, to put anything in your pants or your bra, tie it to your shoes or carry it. LOVE!
 |
| At this year's Donut Run after I already ran 11 miles. |
A lot of people asked me, if the pockets aren't in the way. They are not. At least not running. Walking and standing they are in the way, but you don't even notice them running until you want some food and realize how easy it is to get to it, because the pockets are in the front and not in the back. Amazing!

This is my 1.5l bladder with the old closing mechanism. It's okay, but I definitely think they did a great improvement by switching to the Slideseal™ top closure. 1.5l also seems to be enough for me for most runs, so I never wished that I had gotten the bigger bladder. I also like the bite value that is basically always open, always closed... always an advantage.

Here is the bladder from Terry's hydration pack, which is not a running specific pack, but for cycling. It already has the new version of the bladder. The bladder is a rectangle and opens over the complete width of the top which makes it much easier to fill and clean. Once you filled the bladder you fold over the top and close it by sliding over a plastic thingy (very technical term) to hold it together. Terry had a spill on the bike the other night and landed on the pack and there was no leak and nothing.


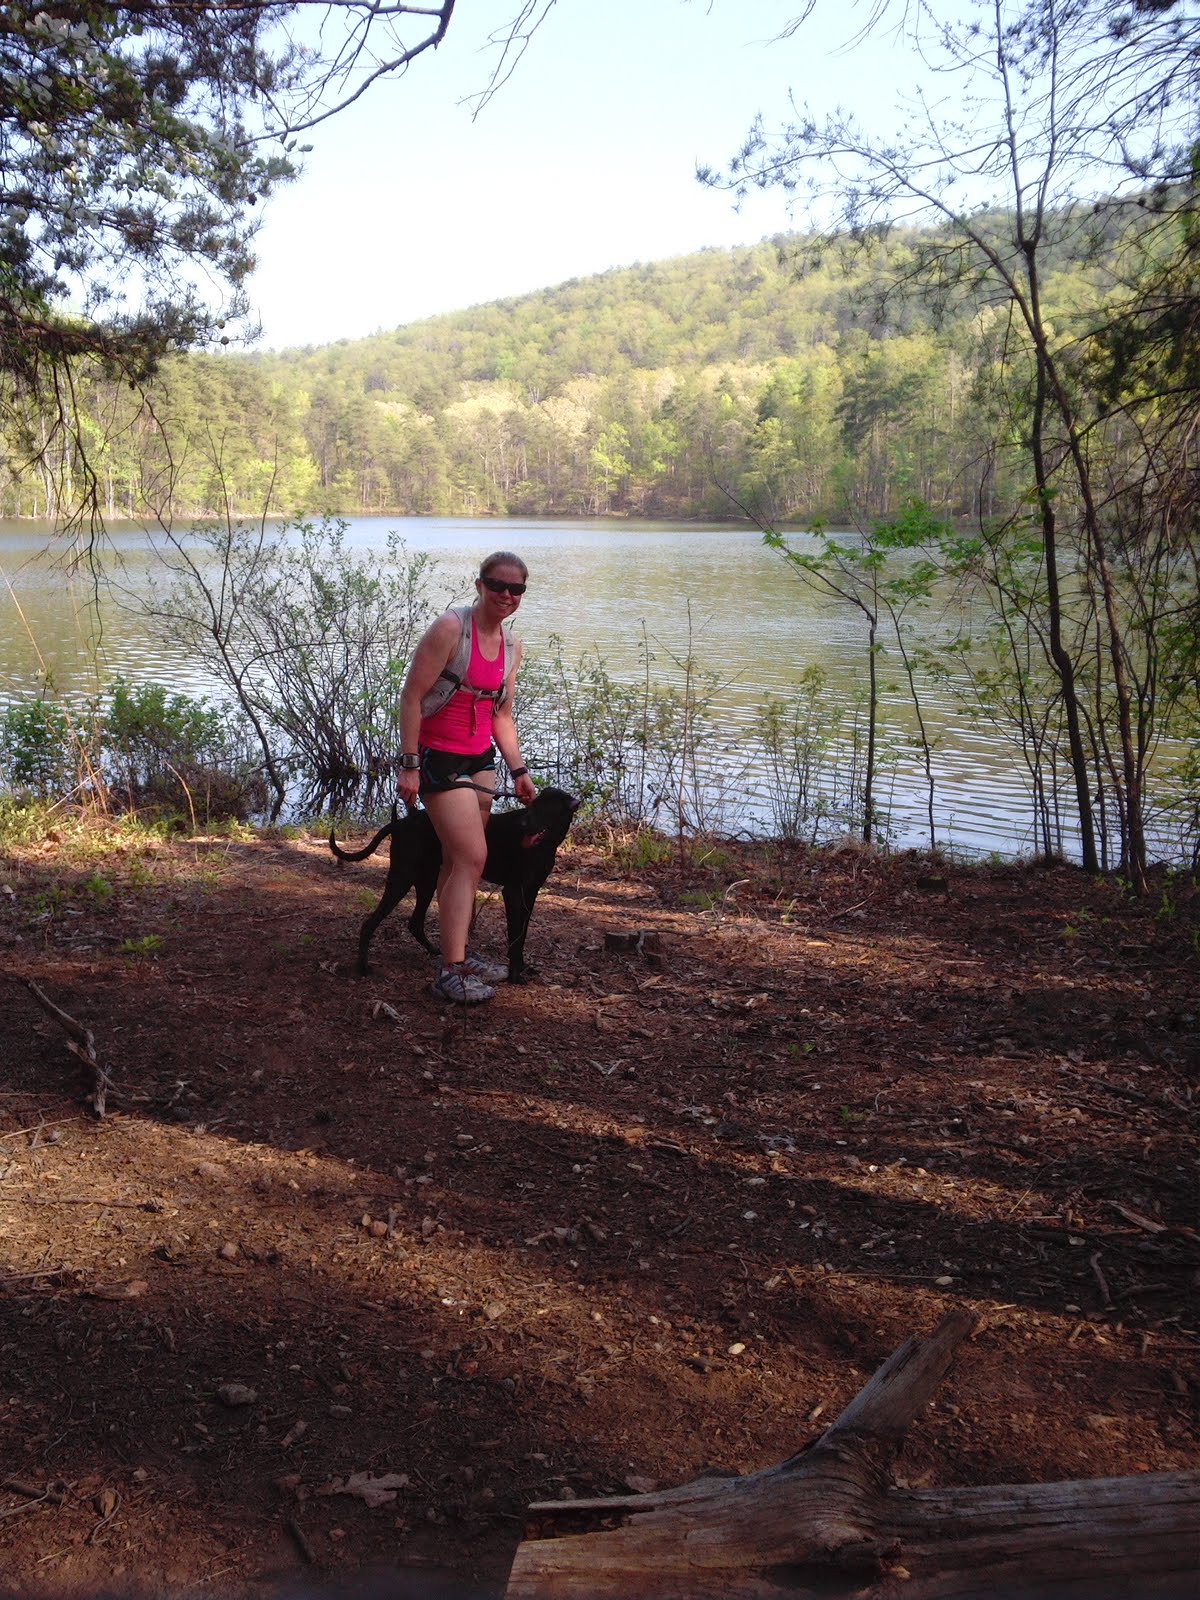

Here are just a couple of more examples of me wearing the race vest.
While I do love love love it for running, it's not that great for cycling and it wasn't meant to be. Once you are leaning over some handlebars, the pack just doesn't feel as natural anymore as when you are wearing it running.


There are cleaning kits out there, but I don't think you need to spend that kind of money.
I avoid to put in anything else but water in the bladder (I made a couple of exceptions), this way I don't have to worry to get some residue of Gatorade out of it. Once I am done, I empty it right away and then store it in the freezer until I use it the next time. The freezer helps with keeping the bacterial count in and on the bladder/ bite valve low. At first I was worried that the plastic is going to get briddle after a while, but I have been doing this with different bladders over the years and they seemed to be doing just fine. Before my next use, I take it out of the freezer and let it defrost, rinse it and the fill it up again. Easy peasy.
Every now and then, I dissolve a couple of denture cleaner tablets (that are in our household for exactly that purpose) in the bladder and let it sit for a couple of hours before rinsing it and putting it back in the freezer.
Storing the bladder in the freezer is such a great idea! We usually rinse our CamelBak bladders out & hang them upside down to dry. (We installed special hooks in our kitchen just for this!) But I definitely like the idea of keeping them in the freezer.
ReplyDeleteNever thought about the grody-factor of these. Good tips for cleaning and maintenance... If I ever get around to getting a bladder for my water holder thjngy. I got one last Christmas after camp croft motivated me... Haven't quite run on trails/long since :)
ReplyDelete